For Serious Family Archivists
Whether documenting your family history or just archiving your immediate family’s best memories MyFamilyArchive may be just what you are looking for.
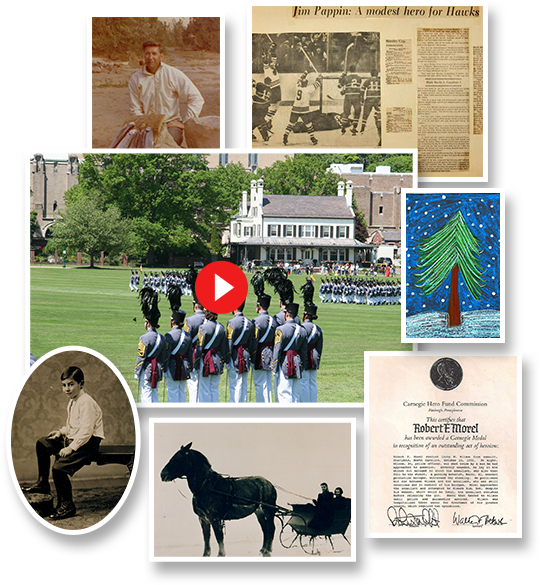
Welcome to your new “Best Family Memories” photo, video, home movie, and documents collection.
With MyFamilyArchive, you’ll have one secure site where all your family’s keepsake memories and mementos will be organized then easily found and viewed by anyone in the family, to become a living and lasting Family Legacy Collection for years to come.
Testimonials


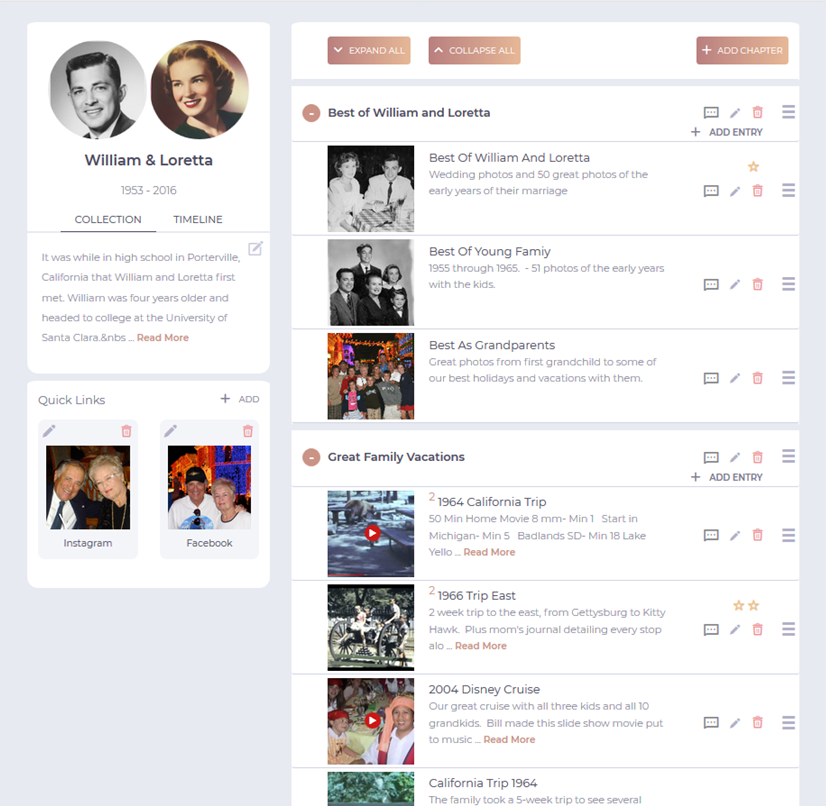
Each page is built by adding “Linked Albums”, which
are titles, descriptions, and web links to the digital items in your 3rd party cloud sites. Clicking on a square preview image triggers a link and takes you to your content. Think of it as a bit like Pinterest for the family.
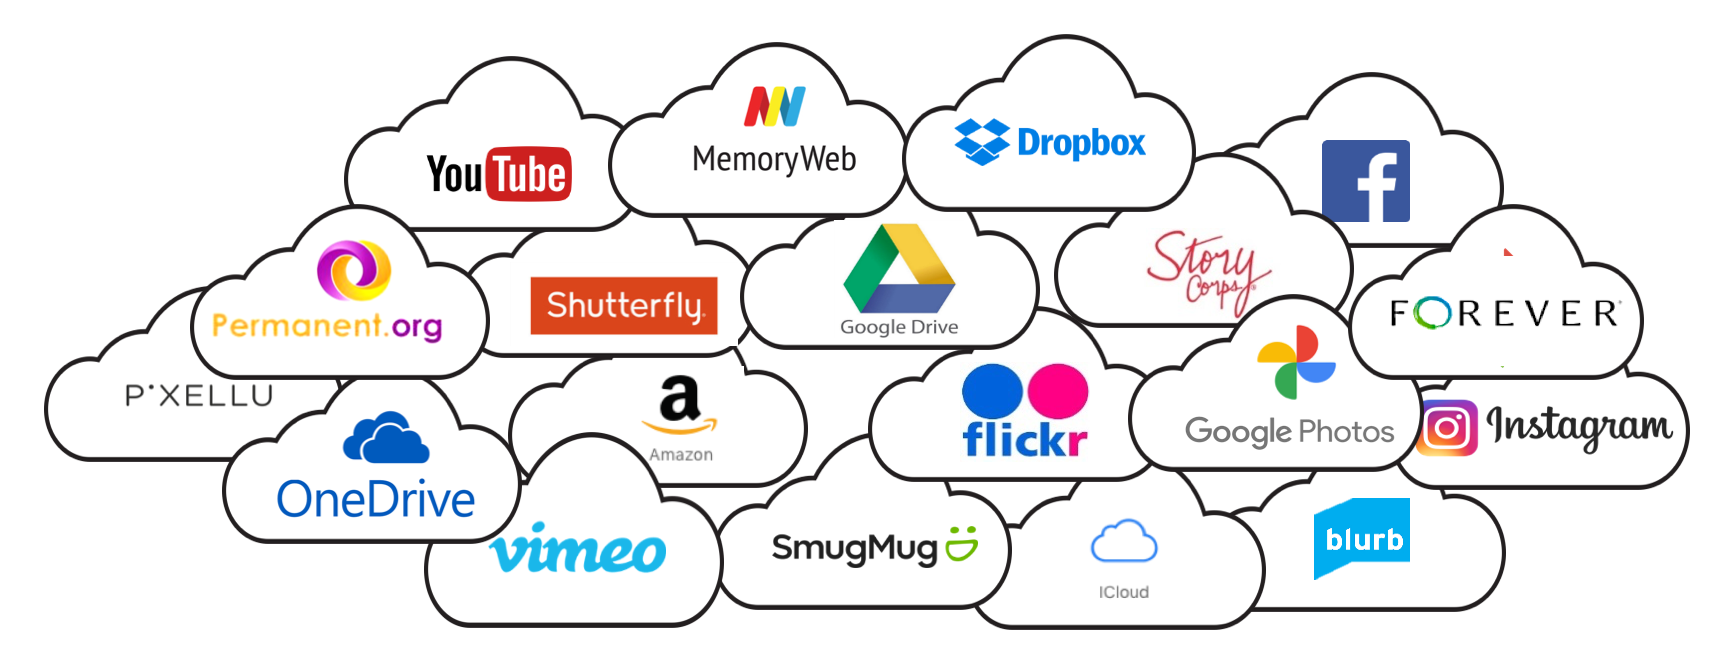
For while cloud sites are great for storing and viewing content, they are simply not designed for building and sharing a family archive. And you’ll likely use more than one cloud site for your various media. If your photos are already in Google Photos or iCloud Photos, that’s a perfect start.
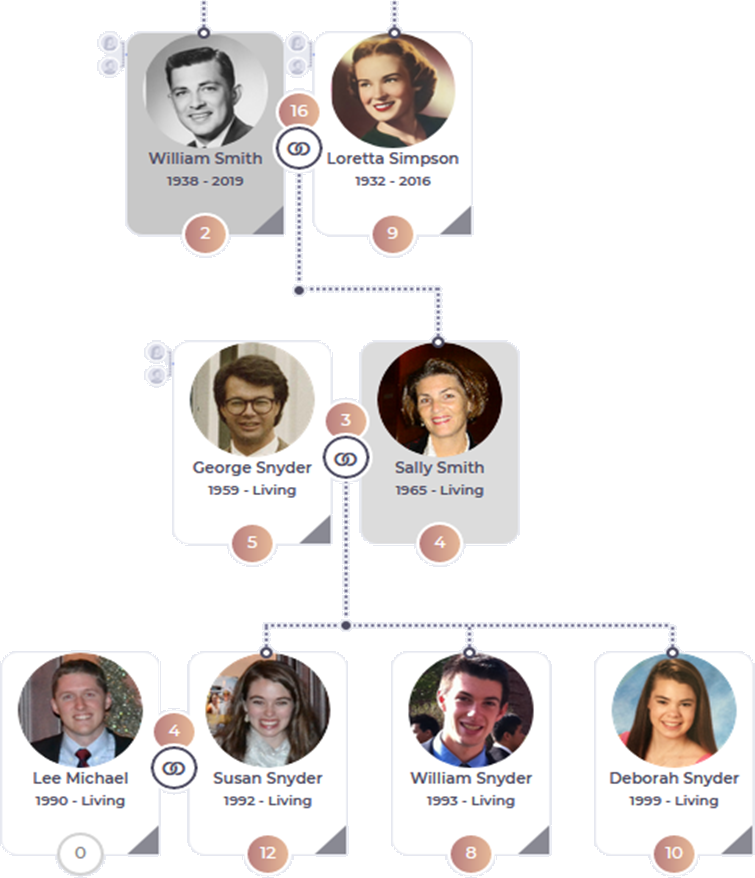
Your family tree becomes a portal to your content
Once created, clicking on any person takes you to their Personal Collection Page. Clicking the link icon connecting a couple takes you to their Family Collection Page.
This intuitive navigation is so easy that even the least-technical family members can find all your memories.
Create a free account and explore this interactive sample collection.
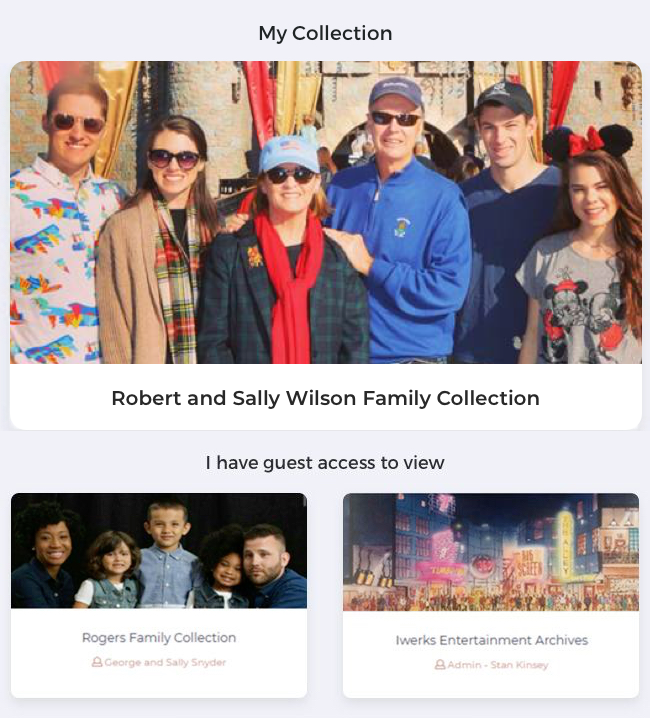
Sharing Your Collection Is Easy
Simple permission settings give you complete control over which media items you allow others to see and which stay private.
And you can grant selective edit privileges to friends and family members to add to your collection.
“Linked Albums” - The Key to MyFamilyArchive
How does MyFamilyArchive index all your media but not store any of it?
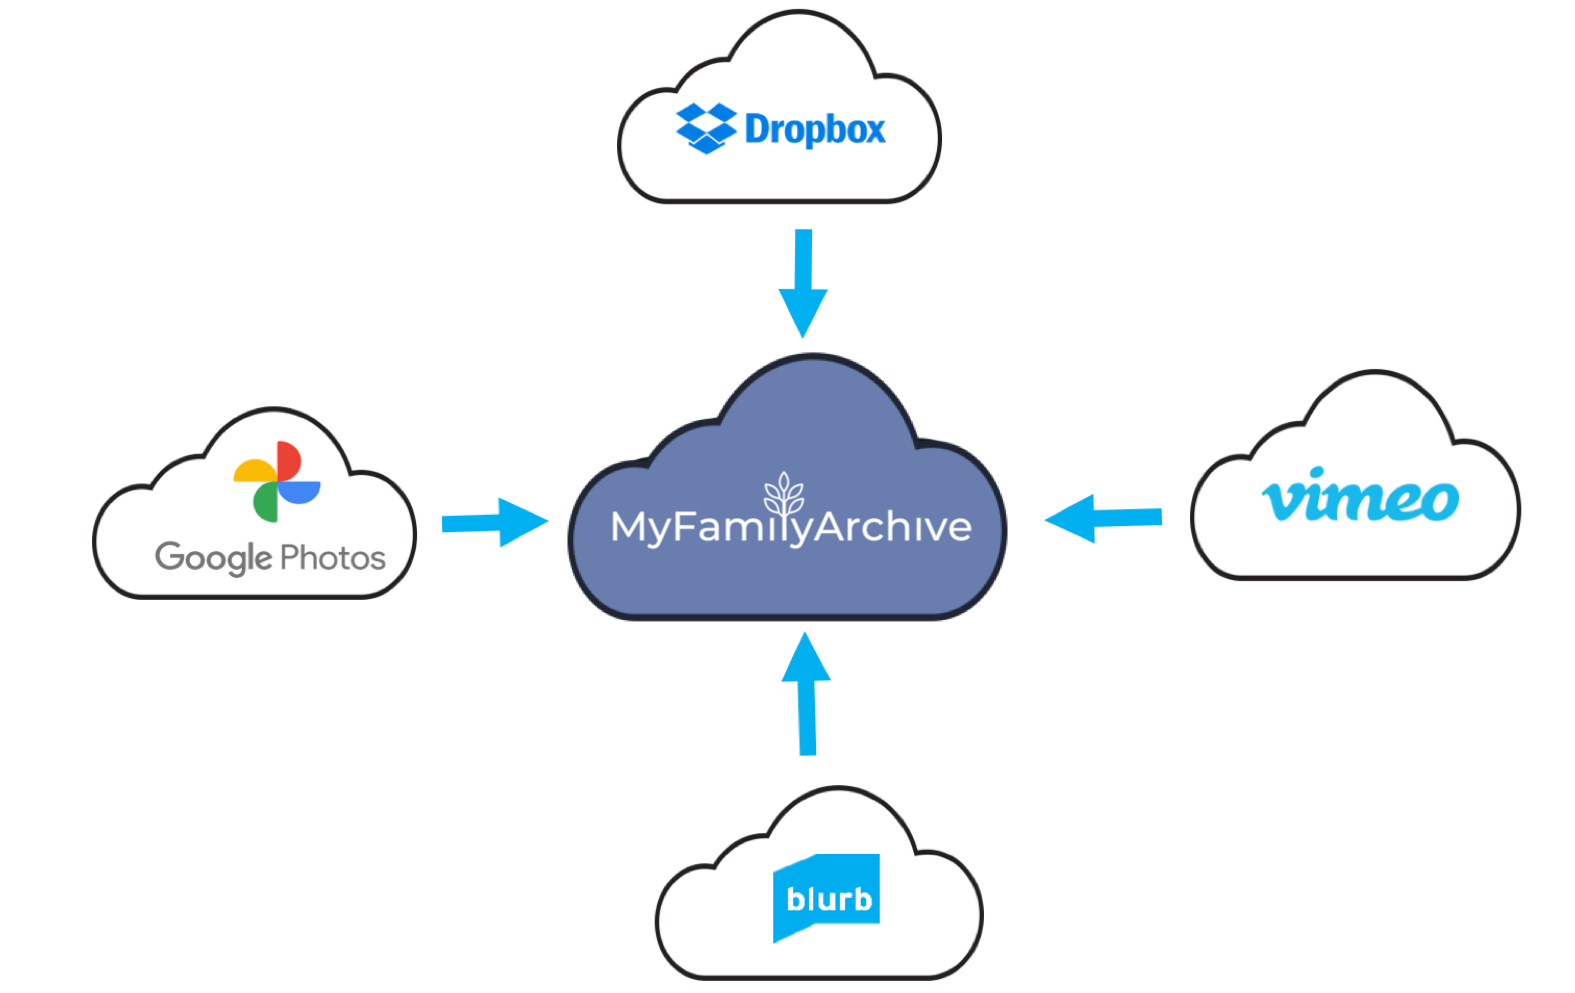
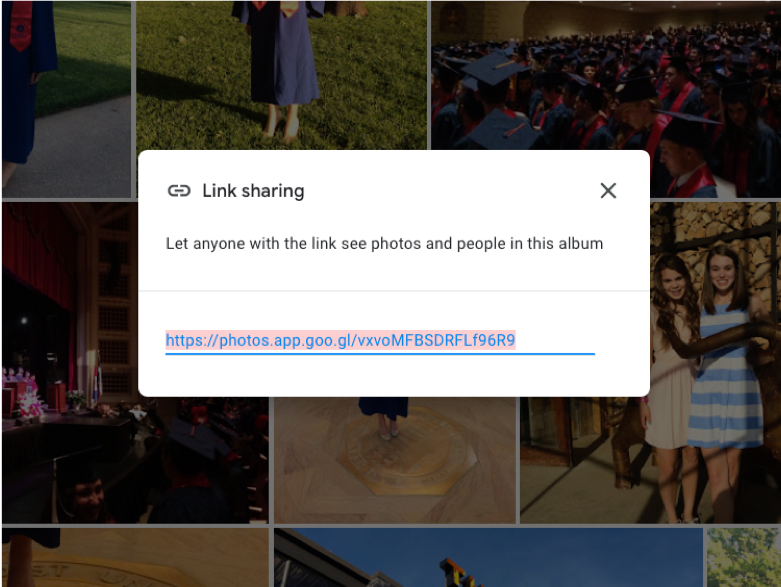
The key is that over 90% of cloud photo and video apps allow you to safely and privately “share” any content stored there... a video, a photo, a digital photo album, an audio recording, a pdf, etc… via a “Share Link”.
In MyFamilyArchive, these links are simply added to a person’s or family’s collection page, along with a title, description, and preview image. Then, when the preview image is clicked, it takes the viewer to the media in the other cloud site. MyFamilyArchive calls each link a “Linked Album”.
- Build your tree as large as you wish and add up to 20 Linked Albums*
- Import a GEDCOM file** or a FamilySearch Tree** and add Linked Albums*
- Build or import your tree
and add up to 300
Linked Albums*
- Build or import your tree
and add unlimited
Linked Albums*
- Build or import your tree
and add unlimited
Linked Albums*
you subscribe to additional future company offerings.
